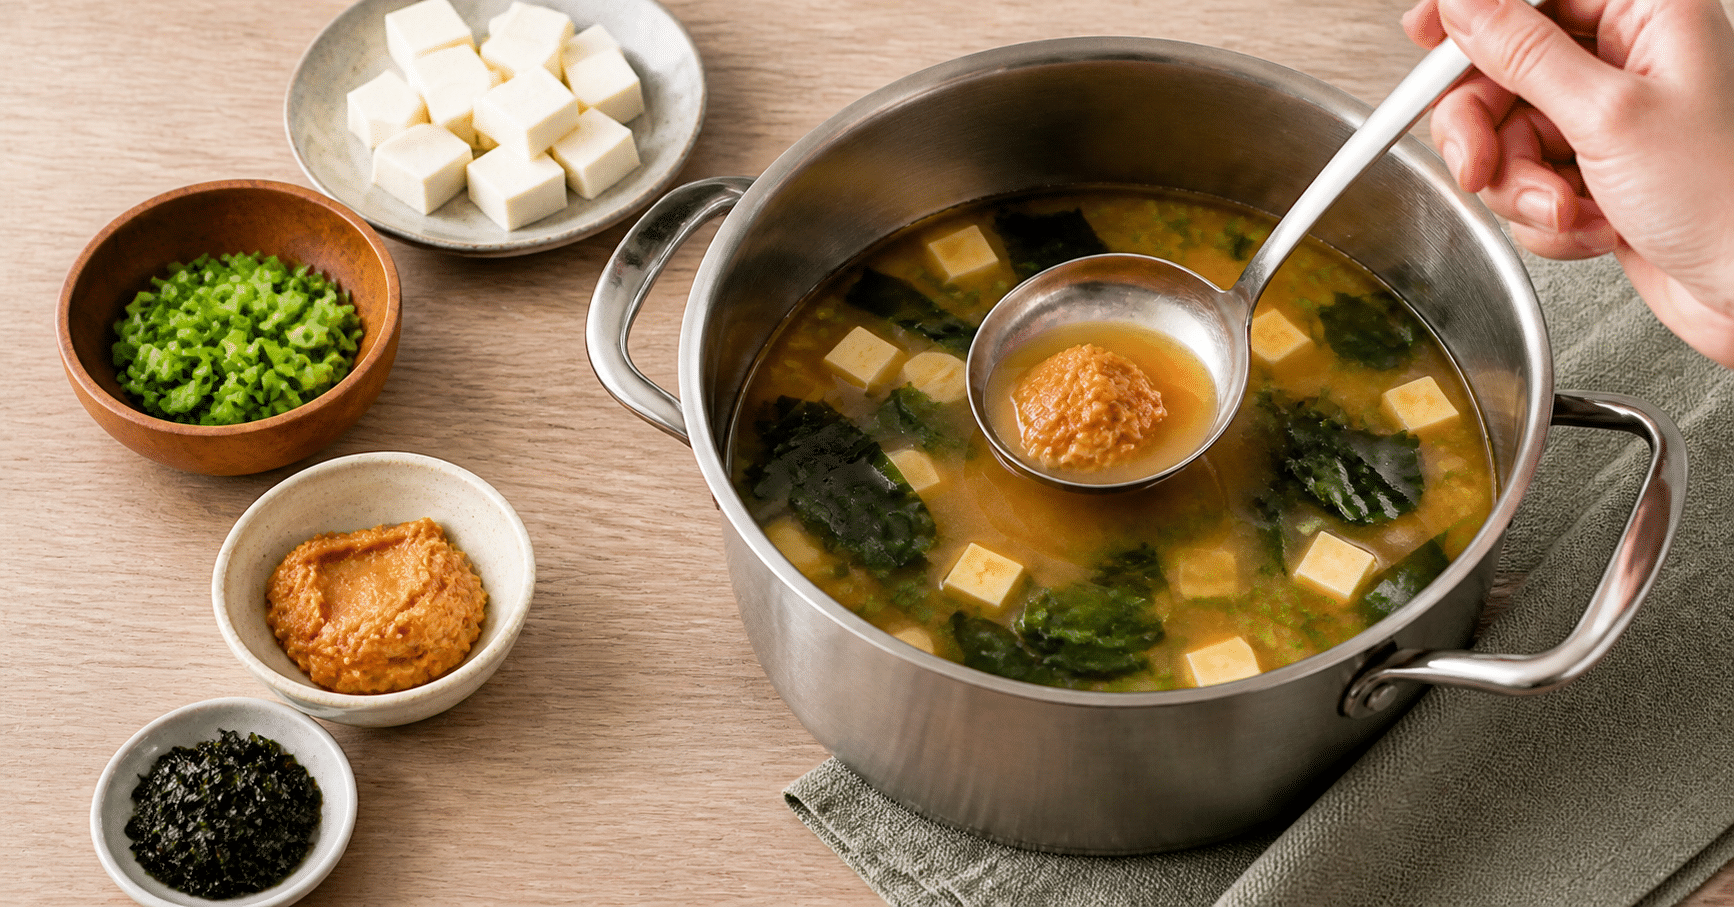

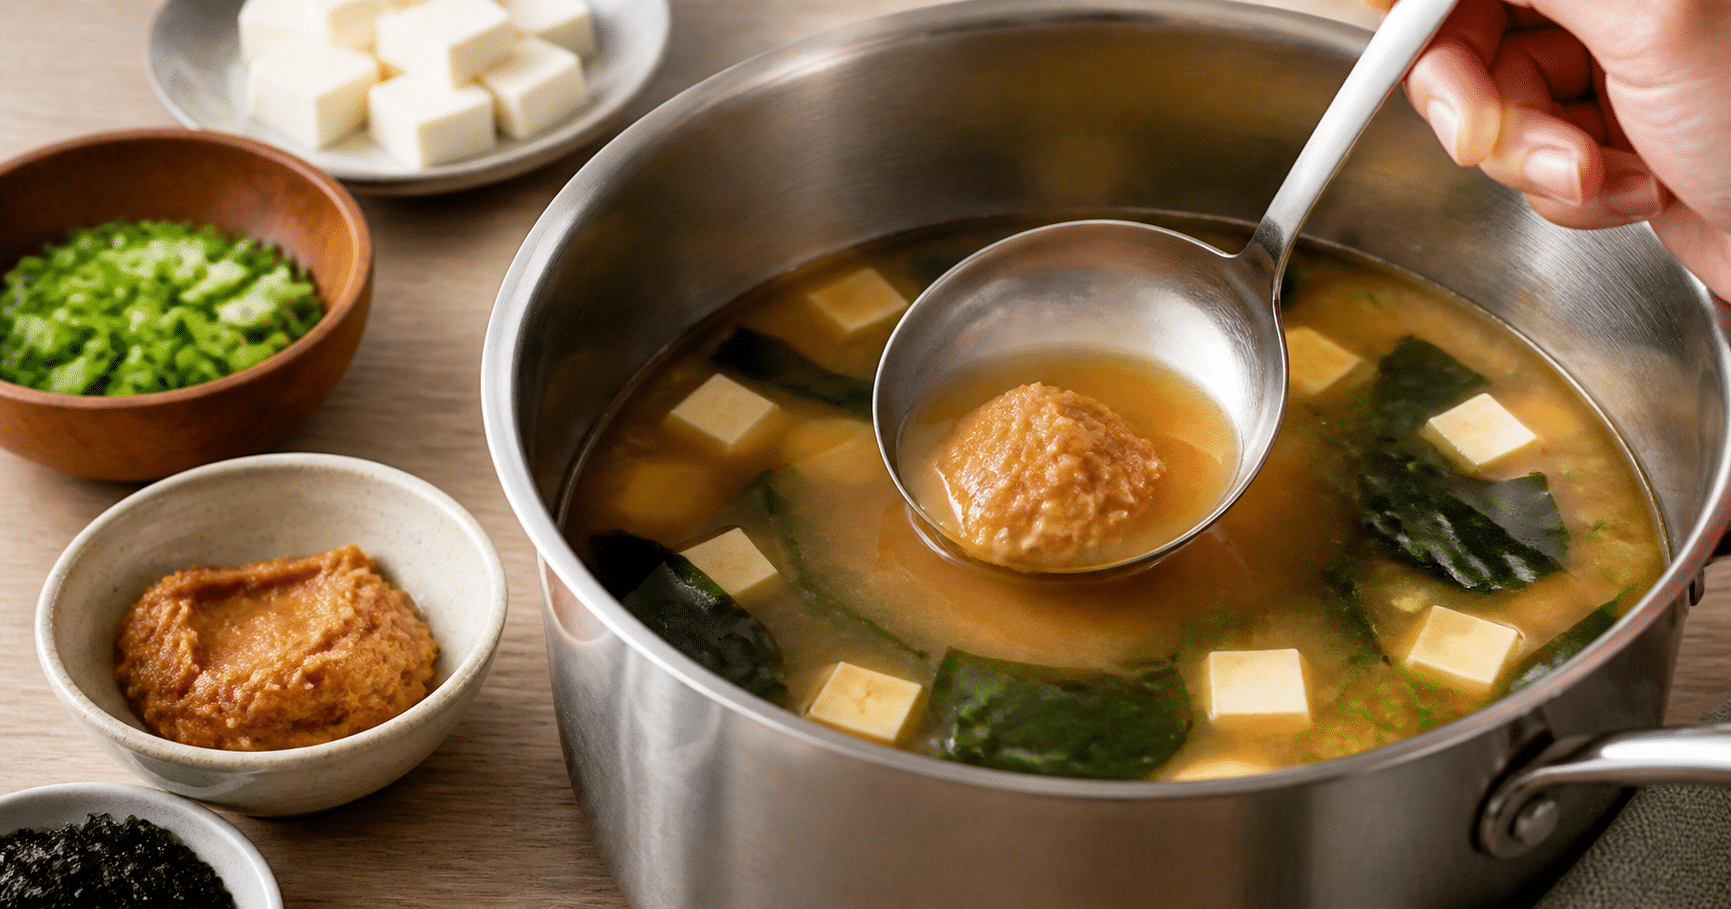
Miso soup can taste mellow, savory, and fragrant—or flat and overly salty. The difference often comes down to a small detail: when you stir in the miso paste.
Miso is made from fermented soybeans, often with rice or barley, and it brings deep, rounded flavor to a simple bowl of broth. Because it is already flavorful, it may be tempting to add it early and let the soup simmer. That can make the broth harsher and mute some of miso’s delicate aroma.
The fix is simple: cook the broth and other ingredients first, then dissolve the miso near the end. Here’s why that timing matters, how to do it without lumps, and a reliable method for making miso soup at home.
Why Miso Goes In Near the End
Miso paste is a seasoning, not a broth that needs a long cooking time. Its savory taste and aroma come from fermentation, and prolonged boiling can dull those complex notes. A brief, gentle warming after it is stirred in is fine; a rolling boil is usually unnecessary.
There’s another practical reason to wait: miso varies in saltiness and intensity. If you add it after the tofu, vegetables, or other ingredients are cooked, you can taste the soup and adjust the amount to suit the broth. That makes it easier to avoid a bowl that is too salty or overpowering.
Some miso contains live microorganisms before cooking, but heating can reduce them, and a bowl of soup should not be treated as a dependable source of probiotics. Add miso at the end for its best flavor and texture—not as a guarantee of a particular health effect.
Three Small Choices That Improve Miso Soup
1. Match the miso to the flavor you want
White miso, often labeled shiro miso, is generally mild and a little sweet. Red miso, or aka miso, tends to be stronger and saltier; mixed varieties fall somewhere between. These descriptions are useful starting points, but brands differ, so taste before adding more.
2. Dissolve it instead of dropping in a spoonful
A lump of paste can leave pockets of intense saltiness in an otherwise mild broth. Put the miso in a ladle or small bowl, add a little hot broth, and whisk or stir until smooth. Then pour that mixture back into the pot.
3. Keep the soup below a boil once the miso is added
Turn off the heat before stirring in the paste. If the soup needs to be hotter, warm it gently afterward, but don’t let it bubble vigorously. This preserves a more delicate aroma and gives you better control over the finished taste.
A Simple Four-Serving Miso Soup
This flexible version makes a light, savory soup with tofu, wakame, and scallions. Use prepared dashi for a traditional-style broth, or choose a convenient broth labeled for miso soup. Check the label: some prepared broths are already salty.
Ingredients
-
- 4 cups dashi or unsalted broth
-
- 7 ounces firm or soft tofu, cut into small cubes
-
- 1 tablespoon dried wakame, or more to taste
-
- 3 tablespoons white or yellow miso, plus more if needed
-
- 2 scallions, thinly sliced
Step-by-Step Instructions
-
- Soak the wakame. Place the dried wakame in a small bowl of water for about 5 minutes, or follow the package directions. Drain it; it will expand as it rehydrates.
-
- Heat the broth. Pour the dashi into a saucepan and bring it to a gentle simmer. Add the tofu and rehydrated wakame, then cook for 2 to 3 minutes, just until hot.
-
- Turn off the heat. Scoop about ½ cup of hot broth into a ladle or small bowl. Add the miso and stir until it dissolves smoothly.
-
- Season the soup. Stir the dissolved miso mixture back into the saucepan. Taste before adding more; if you want a stronger flavor, dissolve another teaspoon or two in a little broth and stir it in.
-
- Serve promptly. Add the scallions and ladle the soup into bowls. If it has cooled too much, warm it gently without bringing it to a boil.
Allow about 10 minutes of preparation, plus any time needed to make the dashi. Refrigerate leftovers promptly in a covered container and use within 3 to 4 days. Reheat gently on the stove, avoiding a hard boil; the tofu may soften a little as it sits.
How to Adjust the Flavor Without Guesswork
If your soup tastes bland, add a little more miso—but dissolve it separately first. If it tastes too salty, add more unsalted broth or water rather than trying to balance it with sugar. A few scallions or a little extra tofu can also soften a strong-tasting bowl.
For a fuller meal, add cooked mushrooms, thinly sliced greens, or leftover vegetables to the broth before the miso goes in. Cook those ingredients until tender, then finish with the paste. Adding miso early and simmering everything together may seem easier, but keeping it for the final step makes the flavor easier to control.
Kitchen tip: Miso settles at the bottom of a container, and different parts of a tub can vary in texture. Stir the paste before measuring, then begin with less than you think you need.
The Best Time to Add Miso
Cook the broth and soup ingredients first, then turn off the heat and whisk the miso into a little hot broth before returning it to the pot. Taste, adjust, and warm gently if needed.
That one timing change keeps the soup easier to season and lets miso’s distinctive flavor stay in the foreground. In a good bowl, the broth is hot—but the miso never has to boil.