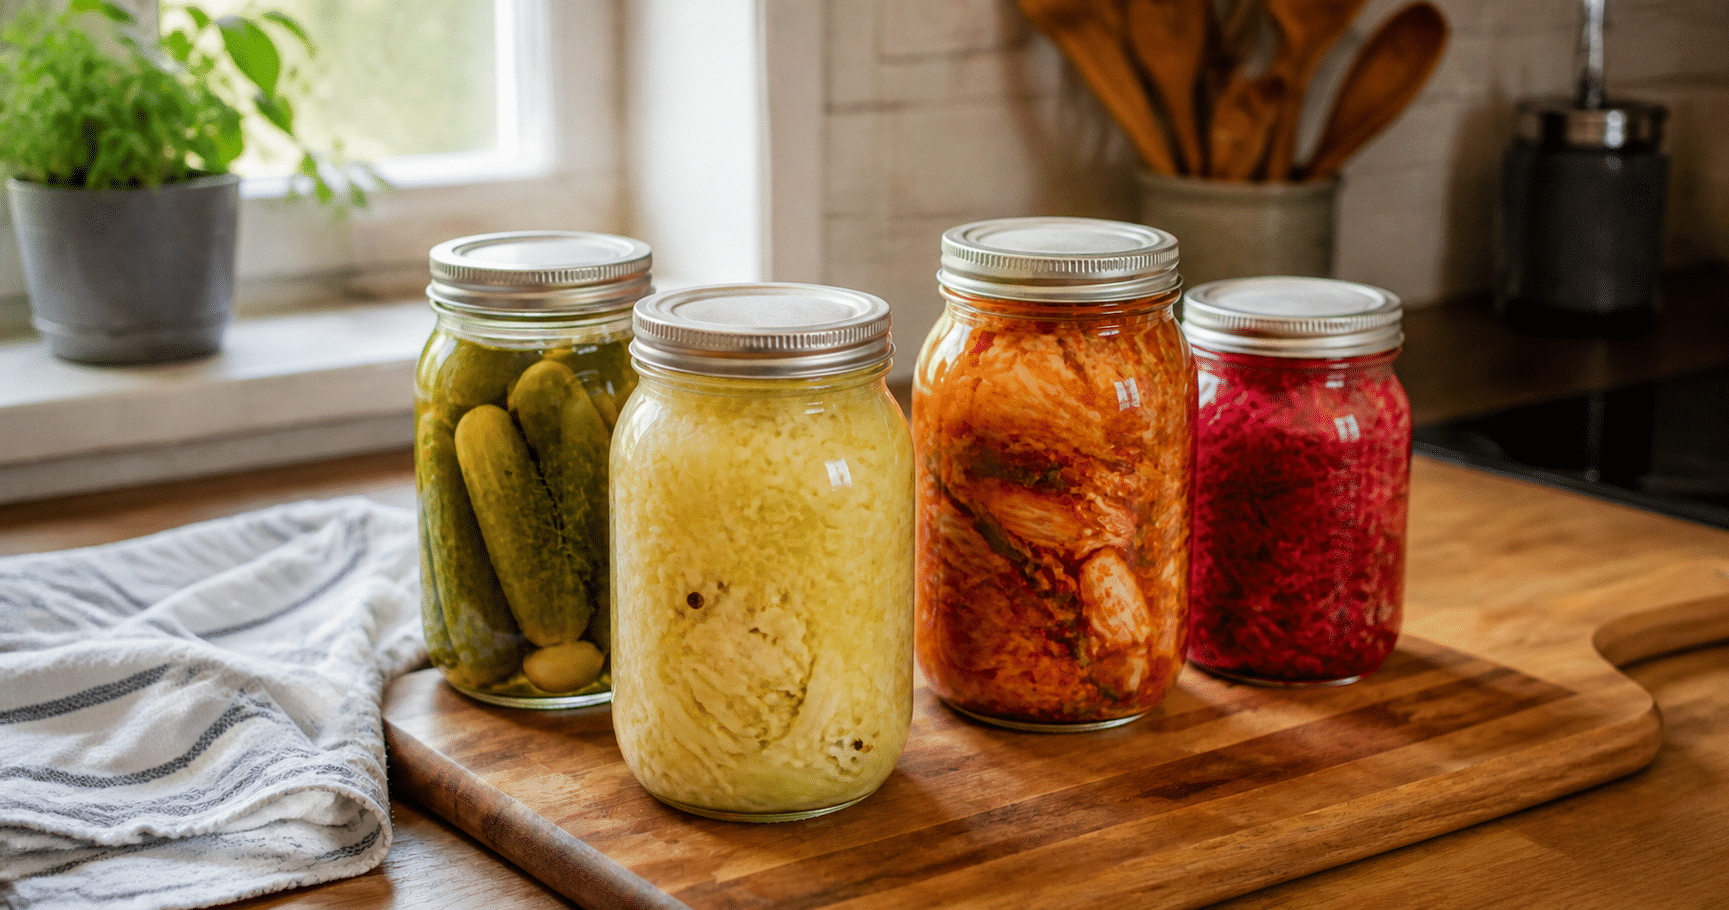

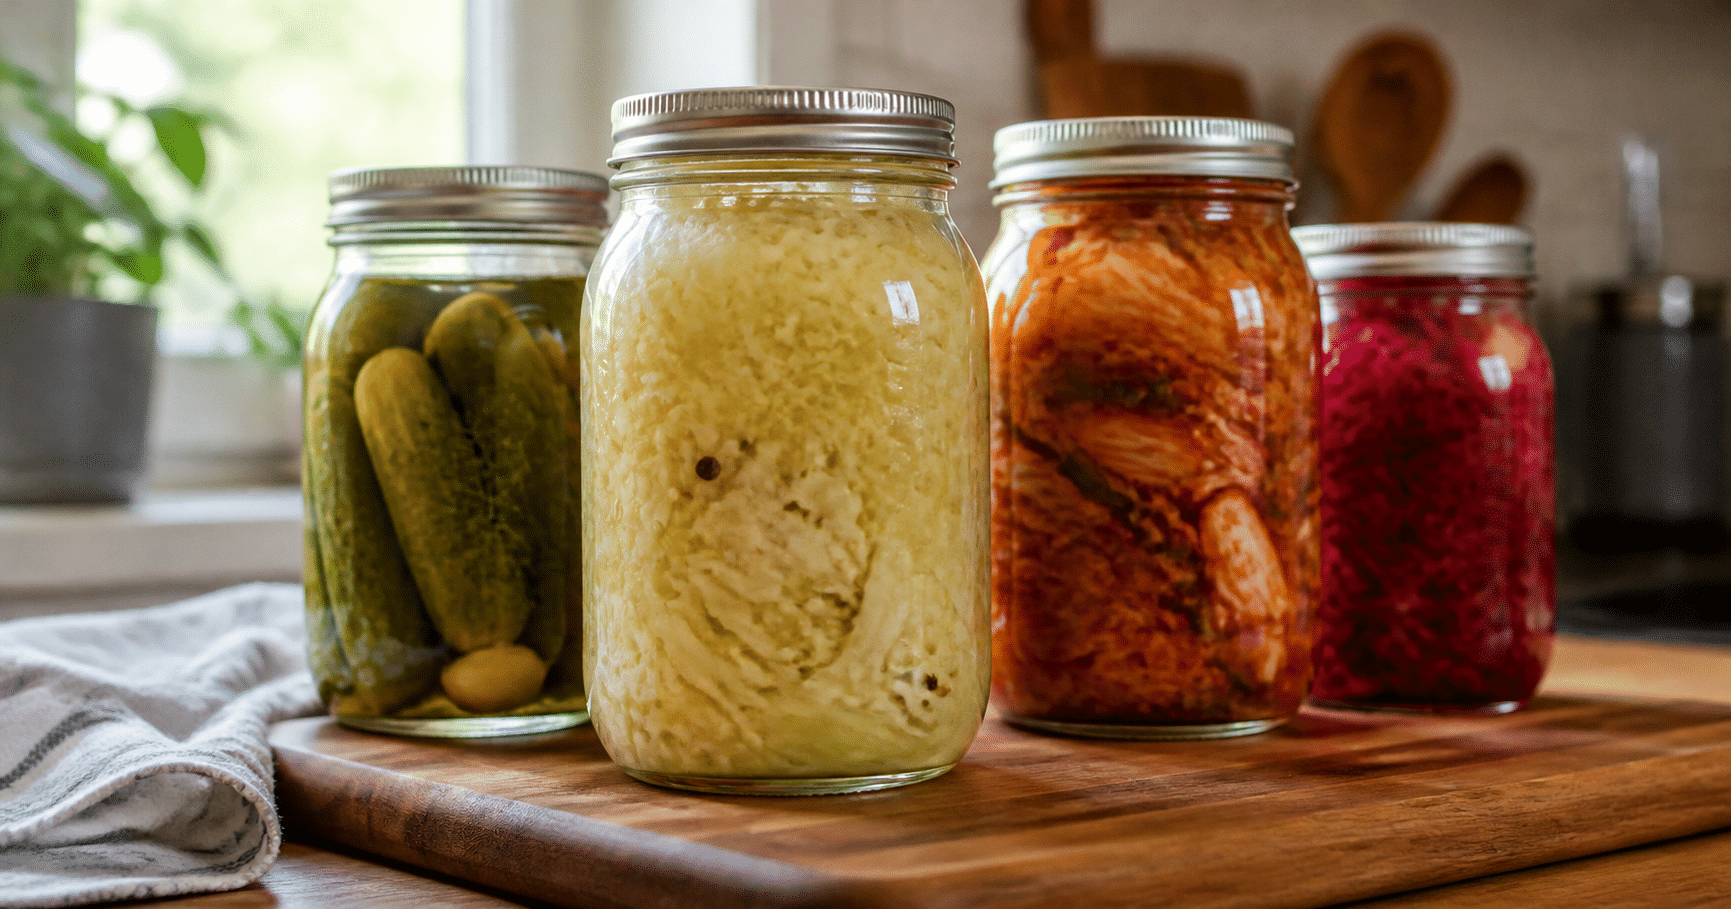
A jar of sauerkraut or pickles may keep bubbling after you bring it home from the counter—or go quiet and cloudy in the refrigerator. Neither change automatically means something has gone wrong. Homemade ferments are living foods, and their appearance can shift as microbes continue working.
That does not mean every jar is safe to eat. A clean, pleasantly sour smell and a little fizz can be normal; fuzzy mold or a putrid odor are reasons to stop. The challenge is knowing which changes are expected and which call for a firm decision.
Here’s how to store homemade vegetable ferments, slow fermentation when the flavor is right, and spot warning signs without relying on taste alone. The details matter: a cloudy brine can be harmless, while a jar that was packed with too little salt or left exposed to air may deserve extra caution.
What Changes After a Ferment Is Ready?
In vegetable fermentation, naturally occurring lactic acid bacteria use sugars in the produce and make acids that give foods such as sauerkraut and kimchi their tang. Fermentation also produces carbon dioxide, so bubbles and pressure are common while a batch is active. Once the flavor is where you want it, refrigeration slows this activity—but does not stop it completely.
That continuing activity is why a refrigerated ferment may grow more sour over time or release a little gas when opened. Fermentation is not the same as canning: a jar of homemade vegetables should not be treated as shelf-stable unless it was prepared using a tested preservation process designed for that purpose.
Storage advice also depends on the food. The guidance here is for vegetable ferments made with a reliable recipe and kept under brine. Fermented dairy, drinks, and other products have different handling needs, so follow instructions specific to those foods.
How to Store Homemade Ferments Without Losing Track of Them
1. Refrigerate when the flavor is right
When your vegetables have reached the sourness and texture you like, move them to a refrigerator kept at 40°F (4°C) or below. Cold slows fermentation and helps preserve the flavor, though the vegetables may keep becoming more sour gradually. There is no single storage life that fits every ferment; ingredients, salt level, preparation, and handling all matter.
If your recipe calls for a period of room-temperature fermentation, follow its directions for temperature and timing. Don’t assume that a longer counter stay is always better. Warm conditions can speed fermentation and soften vegetables, while a cool room can slow it.
2. Keep the vegetables beneath the brine
Use a clean utensil to press the vegetables below the liquid after serving. Brine helps limit contact with air, which can encourage surface growth and affect quality. If the vegetables are no longer covered, don’t simply top off the jar with plain water; use the approach specified by a dependable recipe.
Close the lid securely for refrigerator storage, but open it carefully if pressure has built up. Some bubbling may continue in the cold. If you are still fermenting a jar at room temperature, use a setup intended to let gas escape or release pressure as the recipe directs.
3. Handle the jar cleanly
Use clean hands and utensils, and avoid putting a fork that has been in your mouth back into the jar. Return the container to the refrigerator promptly after serving. These small habits reduce the chance of introducing unwanted microbes or food debris.
Normal Fermentation Changes—and Signs to Take Seriously
Bubbles, a tangy smell, and cloudy brine can all occur in a properly fermenting vegetable jar. Brine may also look cloudy after refrigeration or handling. These signs alone do not prove that a ferment is spoiled.
By contrast, discard the entire batch if you see fuzzy or raised mold, especially colored growth, or if the vegetables have developed a distinctly rotten, putrid, or otherwise offensive smell. Don’t scrape mold from the surface and eat what is underneath; visible growth may not show the full extent of contamination. If you are unsure whether a surface film is harmless yeast or mold, the safer choice is to discard the jar.
Texture is another clue, though not a perfect test. Vegetables can soften as fermentation continues, but a slimy feel or a mushy, decomposing texture is concerning. Do not taste a questionable ferment to decide whether it is safe. A small taste cannot reliably identify harmful contamination.
A Simple Routine for Checking a Jar
What you’ll need
-
- A clean spoon or fork
-
- A clean, lidded container, if you need to transfer the ferment
-
- A refrigerator kept at 40°F (4°C) or below
Step-by-step instructions
-
- Check the jar before opening. Look for fuzzy growth, unusual discoloration, leaks, or a damaged lid. A little pressure can happen; open the jar carefully and away from your face.
-
- Notice the smell. A clean sour or fermented aroma is expected for many vegetable ferments. A putrid or strongly unpleasant odor is a reason to discard it.
-
- Inspect the vegetables and brine. Cloudiness by itself is not a spoilage test. Look for mold, unusual surface growth, or a slimy, decomposing texture.
-
- Serve with a clean utensil. Take out only what you need, press the remaining vegetables beneath the brine, and close the jar.
-
- Refrigerate promptly. Marking the jar with the date it went into the refrigerator can help you keep track, but use condition and reliable recipe guidance—not a guessed universal deadline—to judge it.
Why a Reliable Recipe Matters Before Storage
Good storage cannot fix a poorly controlled fermentation. Use a dependable recipe that specifies the salt amount and method, and measure carefully. Too little salt or vegetables exposed above the brine can affect both texture and the conditions in the jar. Don’t reduce salt casually just because the finished food tastes salty.
Also, don’t use smell or appearance as a substitute for following a tested process. If a batch was made with uncertain proportions, handled in questionable conditions, or left at room temperature far beyond the recipe’s directions, discarding it is safer than trying to rescue it.
A Good Ferment Is Worth Keeping—and a Doubtful One Isn’t
For homemade vegetable ferments, the dependable routine is simple: follow a reliable recipe, refrigerate when the flavor is ready, keep the vegetables under brine, and use clean utensils. Bubbles and cloudy liquid may be ordinary; mold, putrid odors, or a slimy, decomposing texture are not signs to ignore.
When a jar leaves you uncertain, don’t taste-test your way to an answer. A fresh batch is easier to replace than a preventable food-safety risk.