
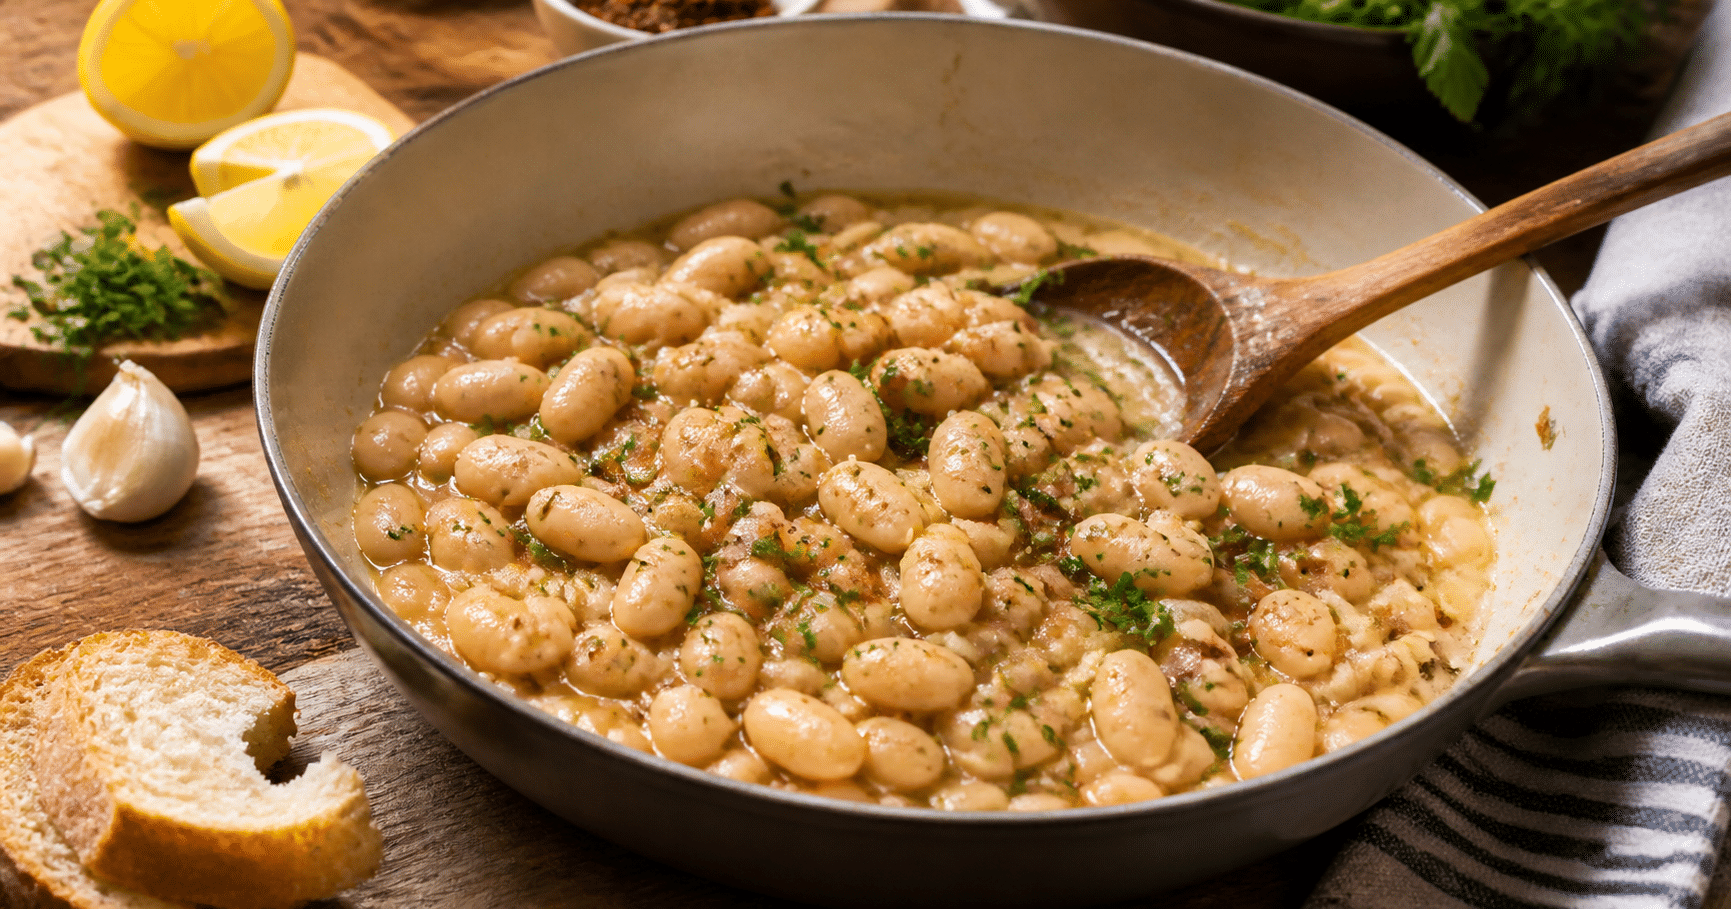
Canned beans can turn a pantry shelf into dinner in minutes. They’re already cooked, easy to keep on hand, and useful in everything from soups to salads. Yet they can also taste flat or oddly salty when they’re simply drained and stirred into a dish at the last minute.
The fix usually isn’t a complicated recipe. It’s a few small choices: picking the right bean, giving it a flavorful place to cook, and finishing with something bright, like lemon or vinegar.
One common mistake is treating canned beans as if they need only a quick rinse and a quick warm-up. They’re fully cooked, but a brief simmer with aromatics helps them take on flavor—and can make a simple can taste much more like a planned meal.
Here’s how to choose, season, and cook canned beans for better flavor, plus an easy garlicky white-bean skillet to put the method to work.
The Secret to Better Canned Beans Is Building Flavor Around Them
Canned beans are cooked in liquid, often with salt. That makes them convenient, but their taste and texture vary by brand and type. Some are firm and pleasantly creamy; others are soft enough to break apart with a stir. Check the label if you’re watching sodium: “no salt added” and regular versions can differ substantially.
Draining and rinsing beans can remove some of the salty canning liquid. It won’t make every can sodium-free, but it gives you more control over seasoning. In a soup or stew, you may want to reserve a little liquid for body; in a salad, rinsed beans are often a better fit.
Because canned beans are already cooked, the goal is not to cook them for a long time. Instead, warm them gently in a flavorful base—such as softened onion, garlic, spices, and broth—so they absorb some of those flavors without turning mushy. A splash of vinegar or lemon at the end brings the dish into focus, while olive oil or another flavorful fat adds a rounded finish.
Four Small Moves That Make a Big Difference
1. Match the bean to the dish
Chickpeas and black beans tend to hold their shape well, making them good choices for salads, grain bowls, and sheet-pan meals. Cannellini and other white beans are softer and creamier, so they work beautifully in soups, dips, and skillet dishes. Kidney beans are sturdy enough for chili and other long-simmered meals.
2. Decide whether to rinse—or save the liquid
For a cold salad or a quick sauté, drain and rinse the beans to remove much of the canning liquid and let the other ingredients shine. For soup, you can drain them and add broth, or use a small amount of the liquid if you want a thicker, more cohesive texture. Taste before adding salt, especially if the beans or broth are salted.
3. Season the cooking fat, not just the beans
Warm olive oil, then cook onion, garlic, or another aromatic until fragrant. Add spices—such as cumin, smoked paprika, or red-pepper flakes—and stir briefly before adding beans and liquid. This quick step releases the spices’ aroma into the oil and spreads it through the dish.
4. Finish with contrast
Beans are mild, so they benefit from contrast. Try lemon juice, red-wine vinegar, chopped herbs, a spoonful of salsa, or a little grated Parmesan. Add acidic ingredients near the end and taste as you go; even a small squeeze of lemon can make a dish taste livelier without requiring more salt.
Make a 20-Minute Garlic-Lemon White-Bean Skillet
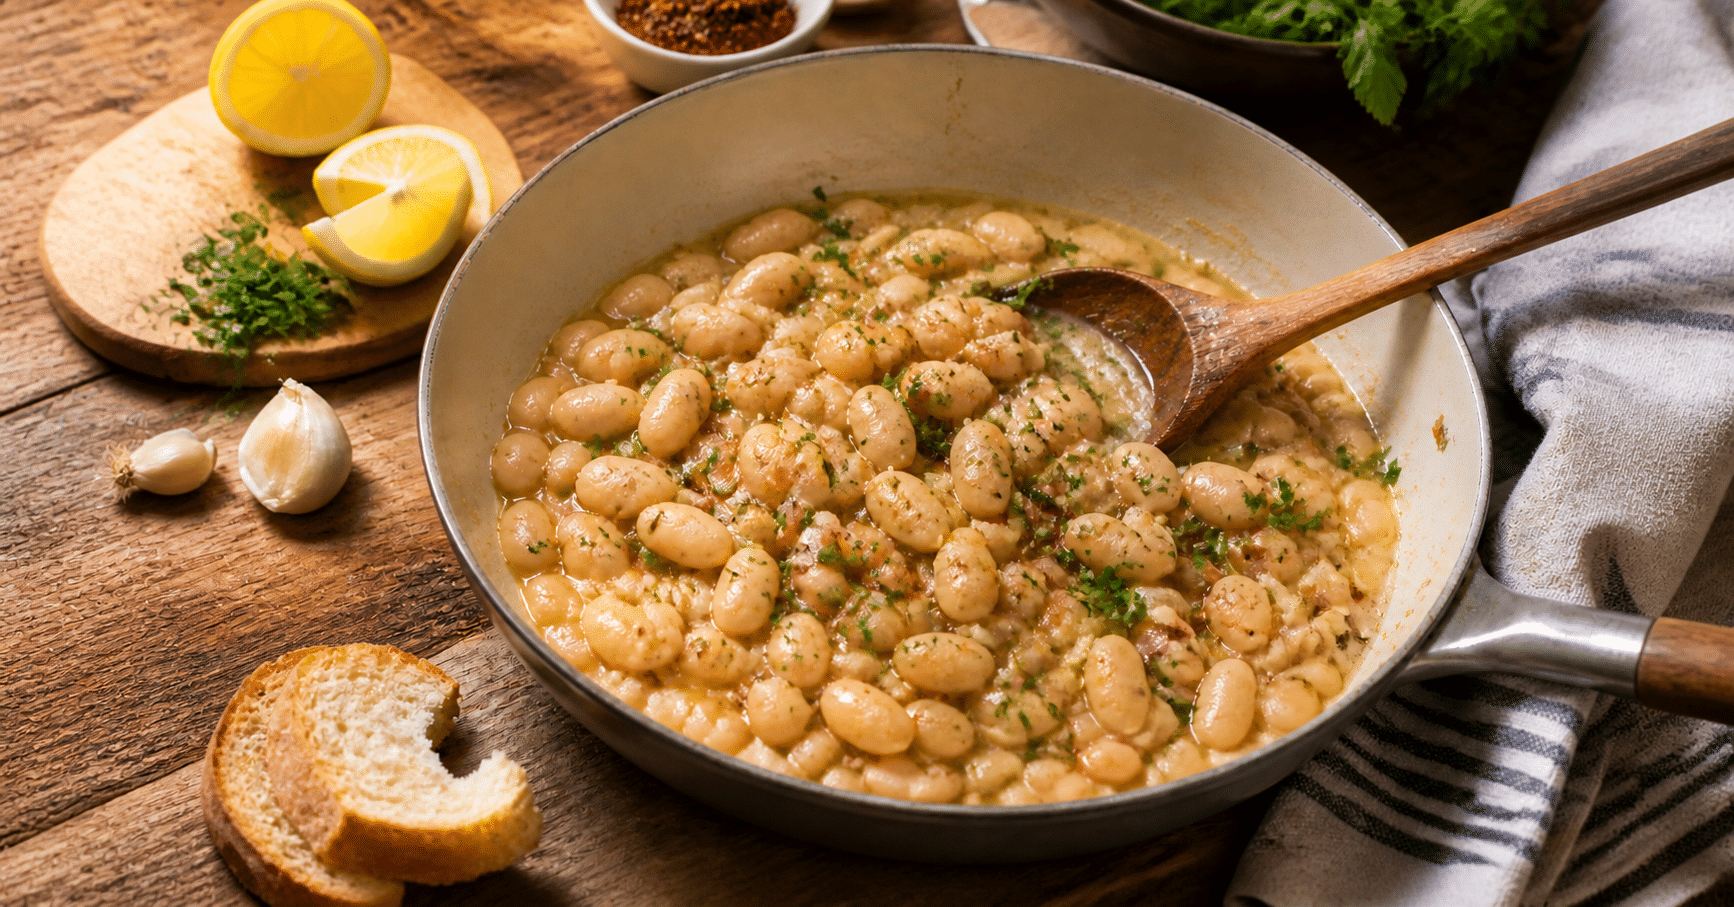
This simple skillet makes a creamy, savory side or a light main dish. Use cannellini beans for a soft texture, or great northern beans if that’s what you have.
Ingredients
- 2 tablespoons olive oil
- 1 small shallot or 1/2 small yellow onion, finely chopped
- 2 garlic cloves, minced
- 1/2 teaspoon dried thyme
- 1/4 teaspoon red-pepper flakes, or to taste
- 2 (15-ounce) cans cannellini beans, drained and rinsed
- 1/2 cup low-sodium vegetable or chicken broth
- 1/4 teaspoon kosher salt, plus more to taste
- 1 tablespoon lemon juice, plus extra wedges for serving
- 2 tablespoons chopped parsley
- Black pepper, to taste
Step-by-Step Instructions
- Soften the aromatics. Heat the olive oil in a medium skillet over medium heat. Add the shallot and cook for 3 to 4 minutes, stirring occasionally, until softened.
- Wake up the seasonings. Stir in the garlic, thyme, and red-pepper flakes. Cook for about 30 seconds, just until fragrant; avoid browning the garlic.
- Warm the beans gently. Add the beans, broth, and salt. Bring the mixture to a gentle simmer, then cook for 5 to 7 minutes, stirring carefully so the beans stay mostly whole.
- Make it creamy and bright. Mash a few beans against the side of the skillet with a spoon to thicken the broth. Turn off the heat, then stir in the lemon juice, parsley, and black pepper. Taste and adjust the salt or lemon.
Serve the beans with toasted bread, spoon them over cooked grains, or pair them with roasted vegetables. For a heartier meal, add a handful of spinach during the last minute of cooking or top each serving with a fried egg.
Keep the Texture—and the Leftovers—Just Right
If beans are getting soft, shorten the simmer and stir gently. For a thicker dish, mash a few beans rather than cooking the whole skillet longer. If the result tastes dull, add a little more lemon or vinegar before reaching for the salt.
Store leftovers promptly in a covered container in the refrigerator and use within 3 to 4 days. Reheat gently with a splash of broth or water, since the beans will continue to soften as they sit.
A Better Can Starts With a Better Finish
Drain and rinse when you want a cleaner, less salty taste; simmer beans briefly with aromatics when you want them to absorb flavor. Then finish with something fresh or tangy. That simple sequence turns a convenient pantry staple into a meal that tastes considered, not canned.