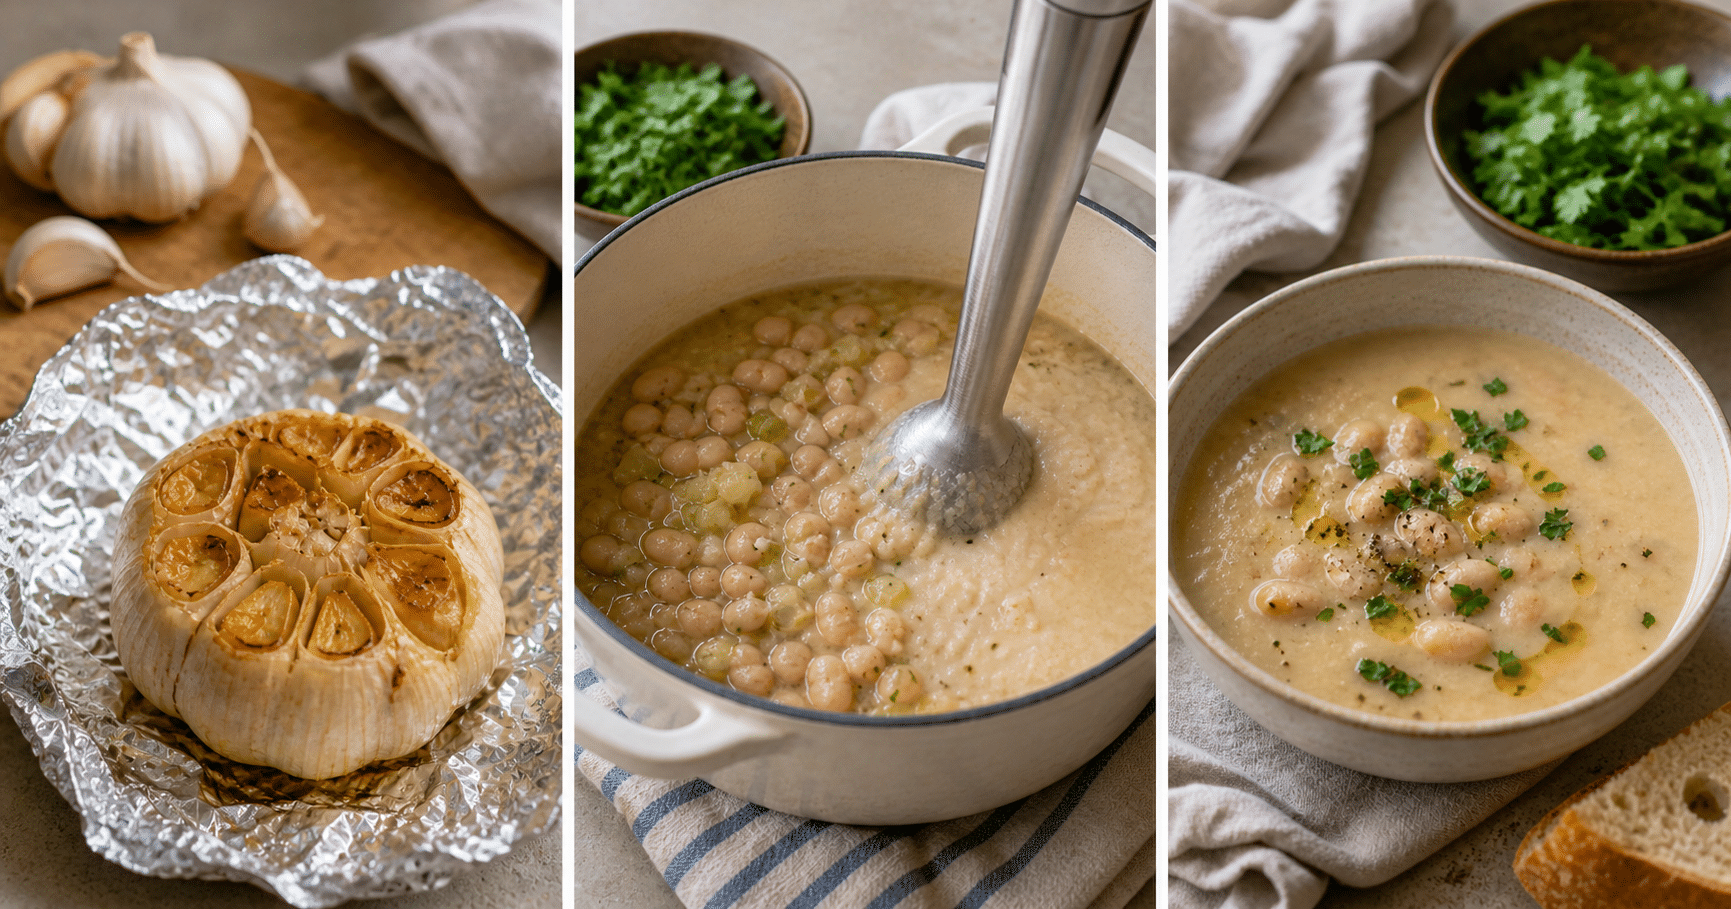

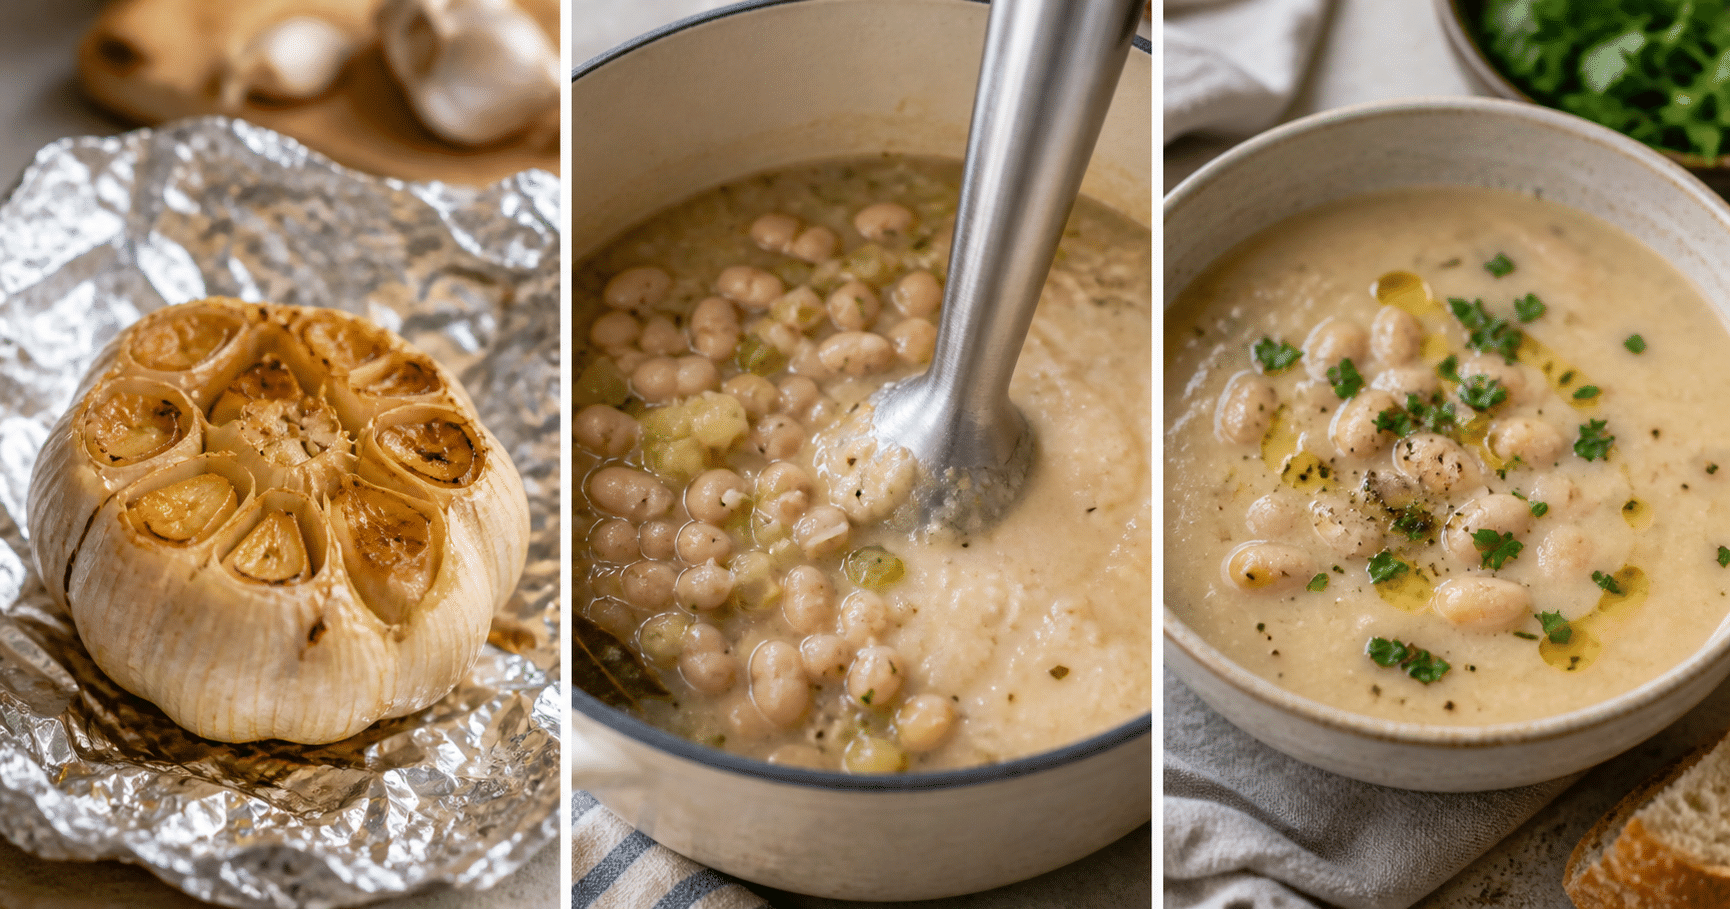

A bowl of creamy white bean soup can feel every bit as comforting as one made with cream, yet its silky texture can come from the beans themselves. When part of the pot is blended, the beans thicken the broth while leaving the soup dairy-free and satisfying.
Roasted garlic makes the difference between a simple bean soup and one with deep, mellow flavor. Heat softens garlic’s sharp bite and brings out a gentle sweetness, so a whole head can enrich the pot without making it taste harsh.
One practical detail is easy to miss: the beans need enough liquid and seasoning to taste bright, not just thick. Below, you’ll find a straightforward method for balancing their earthy flavor with lemon, herbs, and a little olive oil—plus tips for adjusting the texture and saving leftovers.
What Makes White Bean Soup Creamy Without Dairy?
White beans, such as cannellini or great northern beans, have a soft, starchy texture. Blend some of them with broth and they form a smooth base that gives soup body without cream, milk, or a flour-based thickener. Leaving a portion whole adds contrast and makes each spoonful feel more substantial.
Beans also contribute plant-based protein and dietary fiber. The amount in a bowl depends on the bean variety, serving size, and recipe, so this soup should be viewed as a nourishing meal—not as a treatment for a health condition. Canned beans are convenient; rinsing and draining them can remove some of the surface salt, though it does not make every brand equally low in sodium.
Roasted garlic supplies aroma and savory depth, while lemon juice added near the end helps lift the flavors. That last step matters: without a little acidity, a blended bean soup can taste heavier than it is. The goal is a creamy texture with enough brightness to keep the beans and garlic in balance.
Three Details That Make the Soup Better
1. Roast the garlic until soft, not burnt
Roasting a whole head gives you tender cloves that mash easily into the soup. If the garlic is deeply browned or scorched, it can taste bitter. The cloves are ready when they feel soft when pressed and can be squeezed from their skins.
2. Blend only part of the beans
Pureeing everything creates a smooth soup, but it can also make the result feel like a thick bean purée. Blending roughly half and stirring the rest in gives the broth a creamy body while keeping recognizable beans in the bowl.
3. Finish with lemon and taste again
Salt levels vary among canned beans and broth brands. Taste the soup after blending, then adjust the salt and lemon gradually. A squeeze of lemon often makes the garlic and herbs more noticeable without requiring more salt.
How to Make Creamy White Bean and Roasted Garlic Soup
This recipe makes about six servings. Allow roughly 15 minutes of active preparation, 35 to 45 minutes to roast the garlic, and about 25 minutes to cook the soup. You can roast the garlic ahead to shorten dinner prep.
Ingredients
-
- 1 large head garlic
-
- 1 tablespoon olive oil, plus more for the garlic
-
- 1 medium yellow onion, diced
-
- 2 celery ribs, diced
-
- 2 cans (15 ounces each) cannellini or great northern beans, drained and rinsed
-
- 5 cups low-sodium vegetable broth or chicken broth
-
- 1 teaspoon dried thyme, or 1 tablespoon fresh thyme leaves
-
- 1 bay leaf
-
- 1 tablespoon lemon juice, plus more to taste
-
- Black pepper and salt, to taste
-
- Chopped parsley or a drizzle of olive oil, for serving (optional)
Step-by-Step Instructions
-
- Heat the oven to 400°F. Slice about ¼ inch off the top of the garlic head to expose the cloves. Set it on a piece of foil, drizzle with a little olive oil, wrap it loosely, and roast for 35 to 45 minutes, until the cloves are soft. Let it cool enough to handle, then squeeze the cloves from their skins.
-
- Warm 1 tablespoon olive oil in a large pot over medium heat. Add the onion and celery and cook for 6 to 8 minutes, stirring occasionally, until softened but not browned.
-
- Add the beans, broth, thyme, bay leaf, and roasted garlic cloves. Bring the pot to a gentle boil, then lower the heat and simmer uncovered for 15 minutes. Remove the bay leaf.
-
- Blend about half the soup until smooth, then return it to the pot and stir. An immersion blender works well; otherwise, transfer a portion to a countertop blender in batches. Use care with hot liquid: follow the blender maker’s directions, vent the lid as instructed, and avoid filling the jar too high.
-
- Stir in the lemon juice. Taste and season with black pepper and salt as needed. If the soup is thicker than you like, add broth or water a little at a time. Warm gently before serving, without letting it boil hard.
Serve with parsley, a small drizzle of olive oil, or crusty bread. For a fuller meal, pair it with a green salad or roasted vegetables. If using chicken broth, the soup is dairy-free but not vegetarian; choose vegetable broth for a vegetarian version.
Easy Adjustments and Leftover Tips
For a smoother bowl, blend more of the soup; for a looser texture, add broth. If you want extra vegetables, stir in chopped kale or spinach during the final few minutes of cooking, just until wilted. A pinch of red pepper flakes can add warmth, while rosemary can stand in for thyme—use it sparingly, since its flavor is stronger.
Refrigerate leftovers in a covered container within two hours of cooking and use them within 3 to 4 days. The soup will thicken as it sits, so loosen it with a splash of broth or water when reheating. For longer storage, freeze in portions; the texture may need a good stir after thawing and reheating.
A Comforting Soup Built on Simple Ingredients
Blended white beans provide the creamy base, and roasted garlic adds mellow flavor without dairy. A little lemon at the end keeps the soup from tasting too rich, while the choice to leave some beans whole gives it a hearty texture.
Make the garlic ahead when you have the oven on, and this cozy soup comes together with pantry staples and a few fresh ingredients. The best finishing touch is often the simplest: taste, add a little lemon if needed, and serve it warm.