
A bag of apples can look manageable at the market and feel endless by the time the third pie has been suggested. Fortunately, apples are just as useful in quick breakfasts, savory dinners, snacks, and freezer-friendly staples as they are in dessert.
The trick is matching the apple to the job. A crisp, tart variety can brighten a salad, while a softer apple cooks down quickly into sauce. You can also preserve extra apples without turning on the oven—or adding much sugar.
One detail that helps prevent waste: apples give off ethylene, a natural ripening gas that can speed the ripening of some nearby produce. Store them thoughtfully, then use the ripest or most bruised apples first. Here are practical ways to enjoy the harvest, plus an easy applesauce recipe to get you started.
Let the Apple’s Texture Guide What You Make
Apples bring sweetness, acidity, moisture, and crunch to a wide range of dishes. Their fiber includes pectin, which helps give apples and cooked apple mixtures their soft, thick texture. Leaving the peel on adds texture and fiber; peeling is useful when you want a smoother sauce or filling.
Firm apples such as Granny Smith, Honeycrisp, or Pink Lady generally hold their shape well in salads and baked dishes. Softer apples, including McIntosh, break down readily and are handy for applesauce. These are useful guidelines, not strict rules: a mix of varieties can make cooked apples more flavorful.
Five Useful Ways to Use Extra Apples
1. Make a quick stovetop applesauce
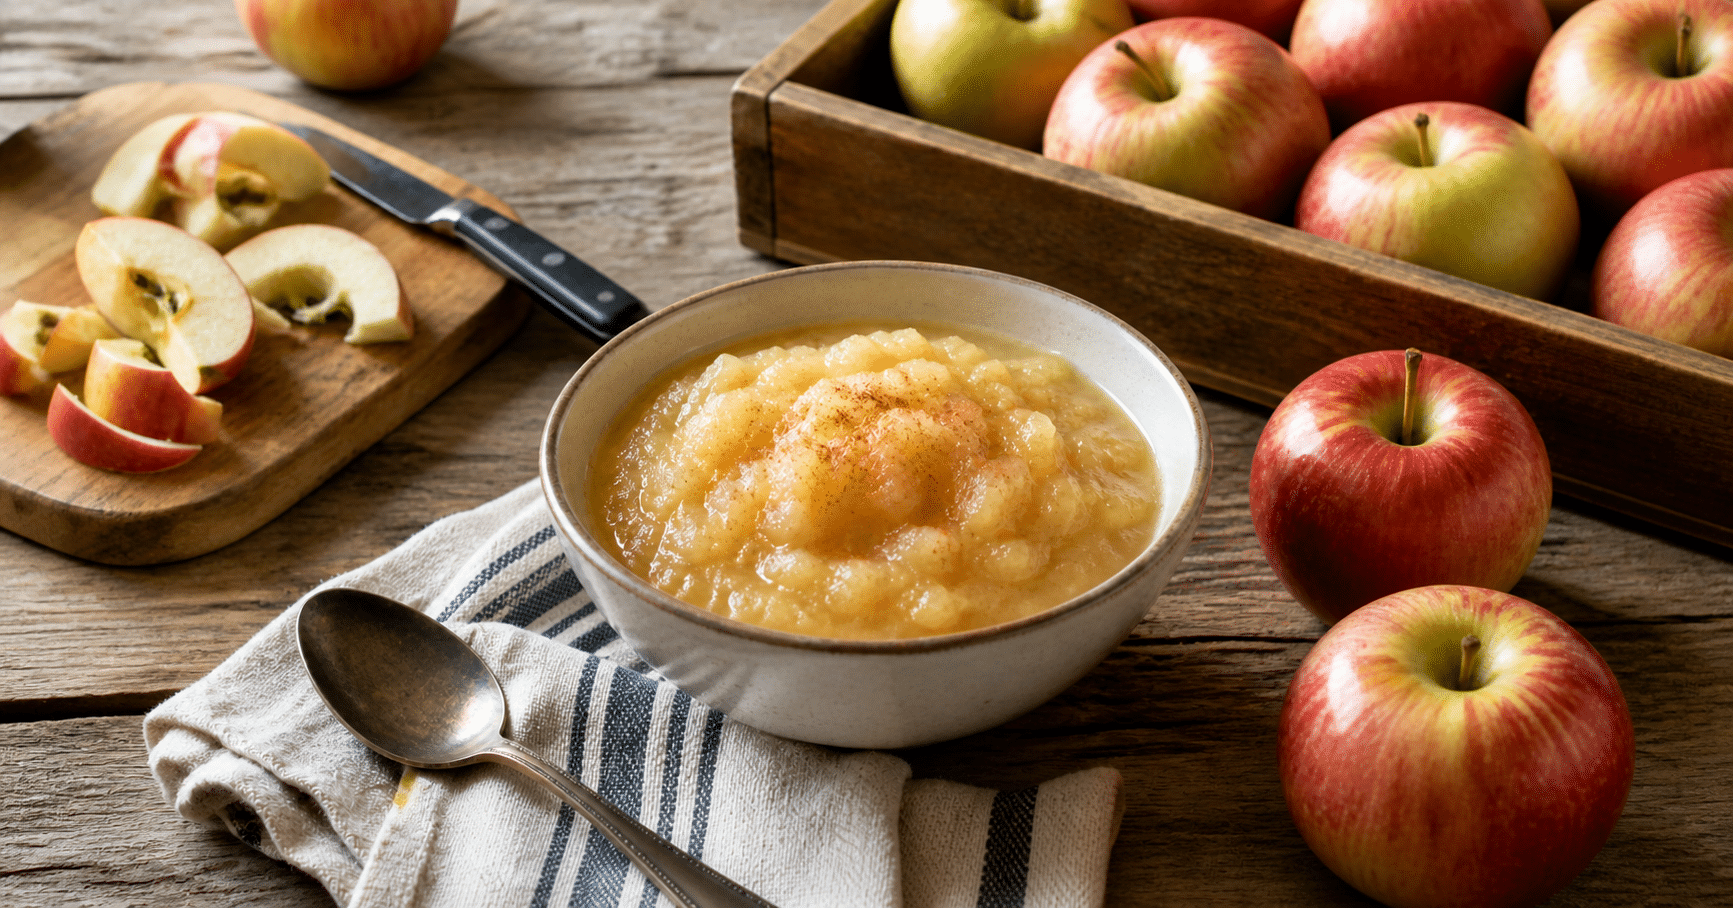
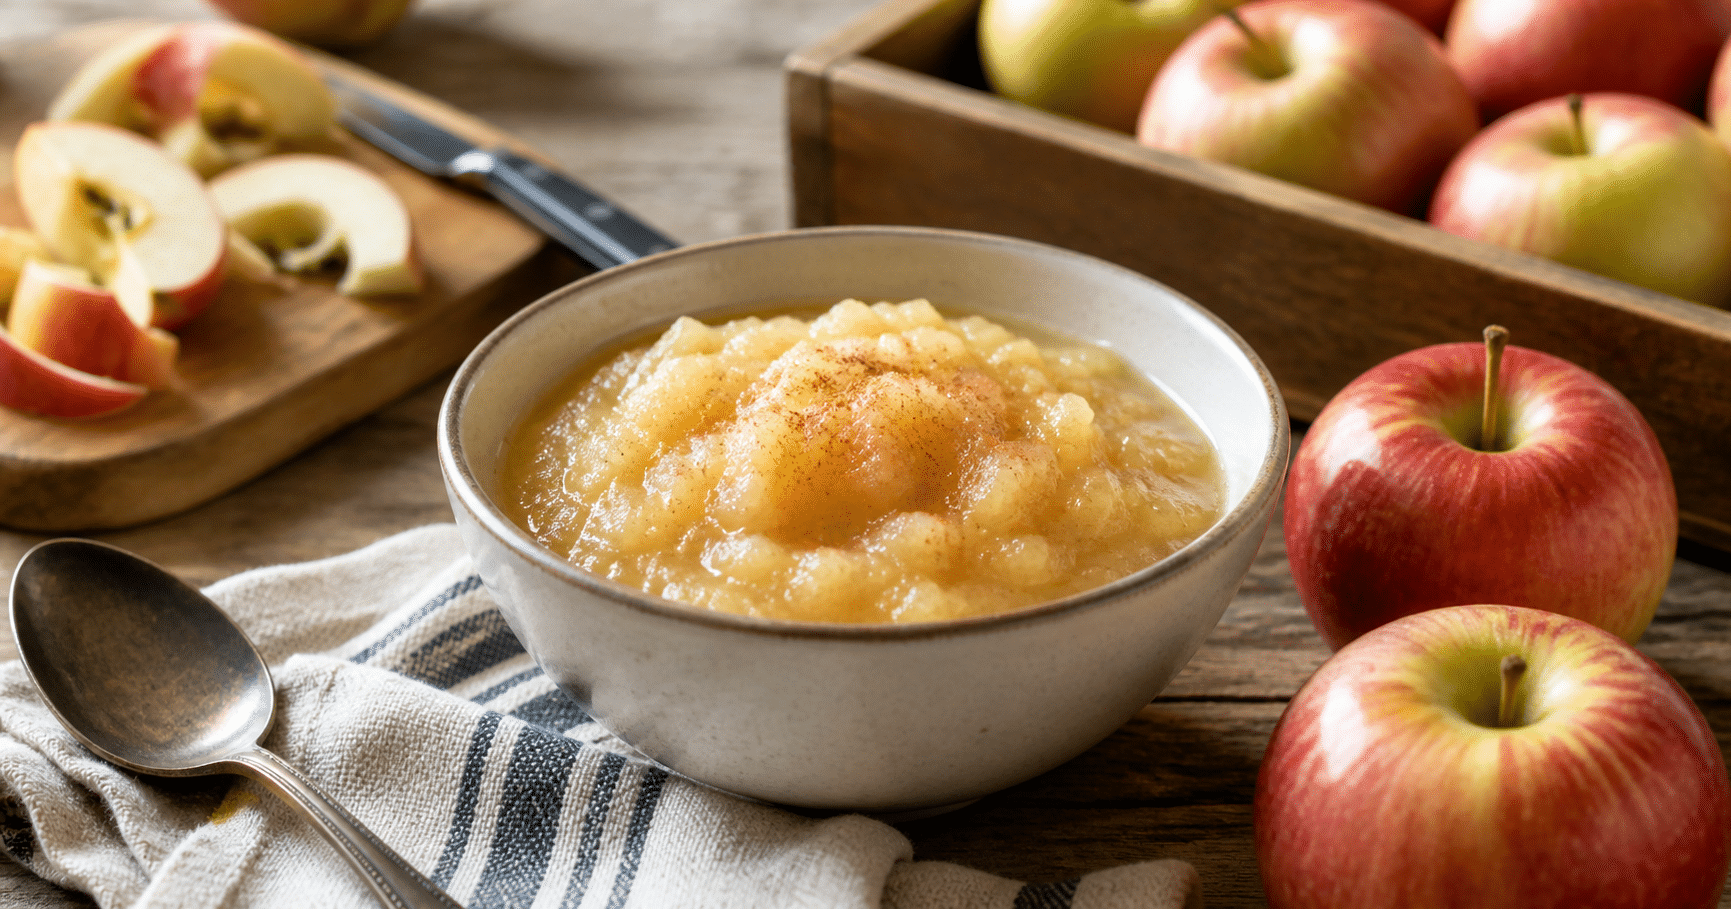
Applesauce takes little hands-on effort and works with breakfast, pork, or a bowl of yogurt. You control the sweetness, and ripe apples may need no added sugar at all. Use it as a snack, stir it into oatmeal, or spoon it over pancakes.
2. Add apples to savory meals
Thin apple slices bring a crisp, sweet-tart contrast to cabbage slaw, leafy salads, and sandwiches. For a warm side, sauté apple wedges with sliced onion until tender and serve them alongside roasted chicken or pork. A squeeze of lemon or a splash of cider vinegar can balance their sweetness.
3. Roast them for an easy topping
Cut apples into wedges, toss with a little oil or melted butter and cinnamon, and roast at 400°F until tender, usually about 20 to 30 minutes depending on their size and firmness. Serve with oatmeal, plain yogurt, or roasted vegetables. Keep the seasoning savory with black pepper and thyme if you prefer.
4. Freeze apples for future cooking
Peel or leave the skins on, remove the cores, and slice the apples. Spread the slices on a tray to freeze separately, then transfer them to a freezer-safe bag or container. They may brown somewhat, but that does not necessarily mean they are spoiled; use frozen slices in cooked dishes such as oatmeal, muffins, or crisps.
5. Make a simple apple-and-onion chutney
Cook chopped apples with onion, vinegar, raisins, and warming spices until the mixture is thick and tender. It makes a tangy accompaniment to sharp cheese, roasted meat, or a grain bowl. Refrigerate homemade chutney rather than treating this quick method as shelf-stable canning.
Easy Unsweetened Stovetop Applesauce
This small-batch recipe makes about 4 cups, depending on the apples and how much liquid cooks away. Tart apples make a lively sauce; sweeter varieties create a mellow one. A combination is a good way to use up odds and ends.
Ingredients
- 3 pounds apples, about 6 to 8 medium, washed and cored
- 1/2 cup water or apple cider
- 1 tablespoon lemon juice, optional
- 1/2 teaspoon ground cinnamon, optional
Step-by-Step Instructions
- Cut the apples into roughly 1-inch pieces. Peel them if you want a smoother sauce; leaving the peels on adds color and texture.
- Put the apples and water or cider in a heavy saucepan. Cover and cook over medium-low heat for 20 to 30 minutes, stirring occasionally, until the apples are very soft. Add a splash more water if the pan looks dry.
- Mash the apples with a potato masher for a rustic texture. For smoother applesauce, use an immersion blender or press the cooked fruit through a food mill.
- Stir in lemon juice or cinnamon if desired. Taste before adding sweetener; if the apples are tart, add a little sugar or maple syrup to suit your preference.
- Cool promptly, then refrigerate in a covered container. Use within 3 to 4 days, or freeze in portions for longer storage.
Store Apples So They Last Longer
Keep apples refrigerated when you want them to stay crisp longer, and check them regularly for soft spots or decay. A damaged apple is not automatically a reason to discard the whole batch: cut away a small bruised area and use the sound fruit promptly. Discard apples with mold, extensive decay, or an unpleasant smell.
Because apples release ethylene, avoid keeping them right beside ethylene-sensitive produce such as leafy greens if you want those items to last. If your refrigerator has a crisper drawer, use it, and keep apples in a separate bag or compartment when practical.
Use the least pristine apples first in sauce, roasted dishes, or baking. Save the firmest ones for snacks and salads, where their crunch matters most.
A Better Plan for the Last Few Apples
Extra apples do not have to become another pie. Turn soft fruit into applesauce, use firm slices to freshen savory meals, roast a batch for breakfast, or freeze portions for later. With a little sorting and sensible storage, the apples that seem like too many today can become several easy meals tomorrow.